How to Create Your Own Plex Server on Raspberry Pi
1/6/20243 min read
Introduction
If you're a movie or TV show enthusiast and want to have your own media server, Plex is an excellent choice. With its user-friendly interface and robust features, Plex allows you to organize and stream your media collection effortlessly. In this guide, we'll walk you through the process of setting up your own Plex server on a Raspberry Pi.
What You'll Need
Before we get started, make sure you have the following:
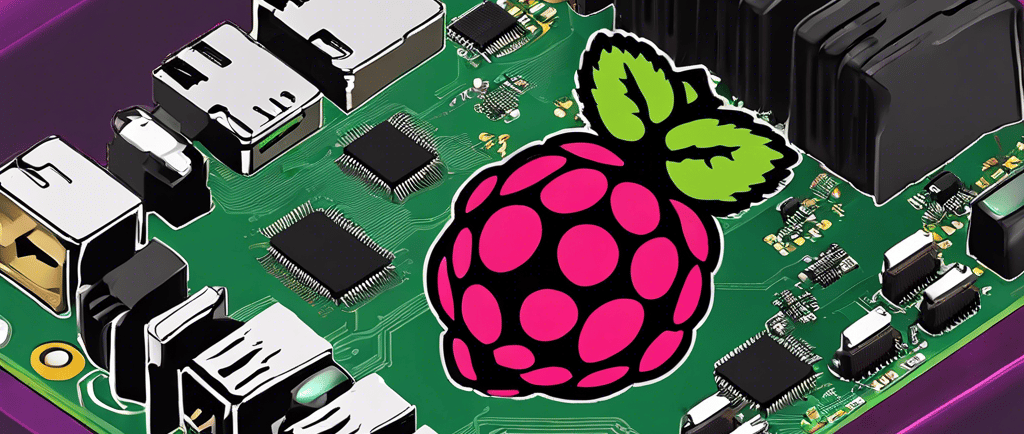
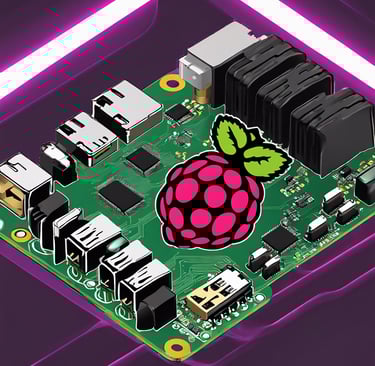
A Raspberry Pi (preferably the latest model)
A microSD card (at least 16GB)
A power supply for your Raspberry Pi
An Ethernet cable or Wi-Fi dongle for internet connectivity
An external hard drive or USB storage device to store your media files
Step 1: Install the Operating System
First, you need to install the Raspberry Pi operating system. You can use the official Raspberry Pi Imager tool to download and install the latest version of Raspberry Pi OS (formerly known as Raspbian) onto your microSD card. Follow the instructions provided by the Raspberry Pi Imager to complete the installation process.
Step 2: Set Up Your Raspberry Pi
Once the operating system is installed, insert the microSD card into your Raspberry Pi and connect it to a monitor or TV using an HDMI cable. Plug in your keyboard and mouse, and finally, connect the power supply to boot up your Raspberry Pi.
Follow the on-screen instructions to complete the initial setup, including configuring your Wi-Fi network (if applicable) and changing the default password.
Step 3: Install Plex Media Server
Now that your Raspberry Pi is up and running, it's time to install Plex Media Server. Open a terminal window and enter the following commands:
sudo apt-get update sudo apt-get upgrade sudo apt-get install apt-transport-https curl https://downloads.plex.tv/plex-keys/PlexSign.key | sudo apt-key add - echo deb https://downloads.plex.tv/repo/deb public main | sudo tee /etc/apt/sources.list.d/plexmediaserver.list sudo apt-get update sudo apt-get install plexmediaserver
This will update your system, add the Plex repository, and install the Plex Media Server software.
Step 4: Configure Plex Media Server
After the installation is complete, open a web browser on your computer and enter the following URL:
http://:32400/web
Replace "" with the IP address of your Raspberry Pi. You can find the IP address by running the following command on your Raspberry Pi:
hostname -I
Once you've entered the URL, you'll be prompted to sign in or create a new Plex account. Follow the on-screen instructions to complete the setup process.
Next, you'll need to add your media libraries to Plex. Click on the "Add Library" button and choose the type of media you want to add (Movies, TV Shows, Music, etc.). Browse to the location of your media files on your external hard drive or USB storage device, and Plex will automatically scan and organize your library.
Step 5: Access Your Plex Server
Now that your media libraries are set up, you can access your Plex server from any device connected to the same network. Simply open a web browser and enter the following URL:
http://:32400/web
Alternatively, you can download the Plex app on your smartphone, tablet, smart TV, or streaming device, and sign in to your Plex account to access your media library.
Step 6: Enjoy Your Media Collection
With your Plex server up and running, you can now enjoy your media collection on any device, anywhere. Plex allows you to stream your movies, TV shows, music, and photos to your heart's content.
Remember to keep your Raspberry Pi and Plex Media Server updated to ensure you have the latest features and security patches.
Conclusion
Setting up your own Plex server on a Raspberry Pi is a fun and rewarding project. It gives you the freedom to organize and stream your media collection without relying on external services. Follow the steps outlined in this guide, and you'll be enjoying your favorite movies and TV shows in no time.